The bold flavors of kung pao chicken come alive with kung pao cauliflower, a vegetarian version of the classic takeout dish! {Vegan-Adaptable}
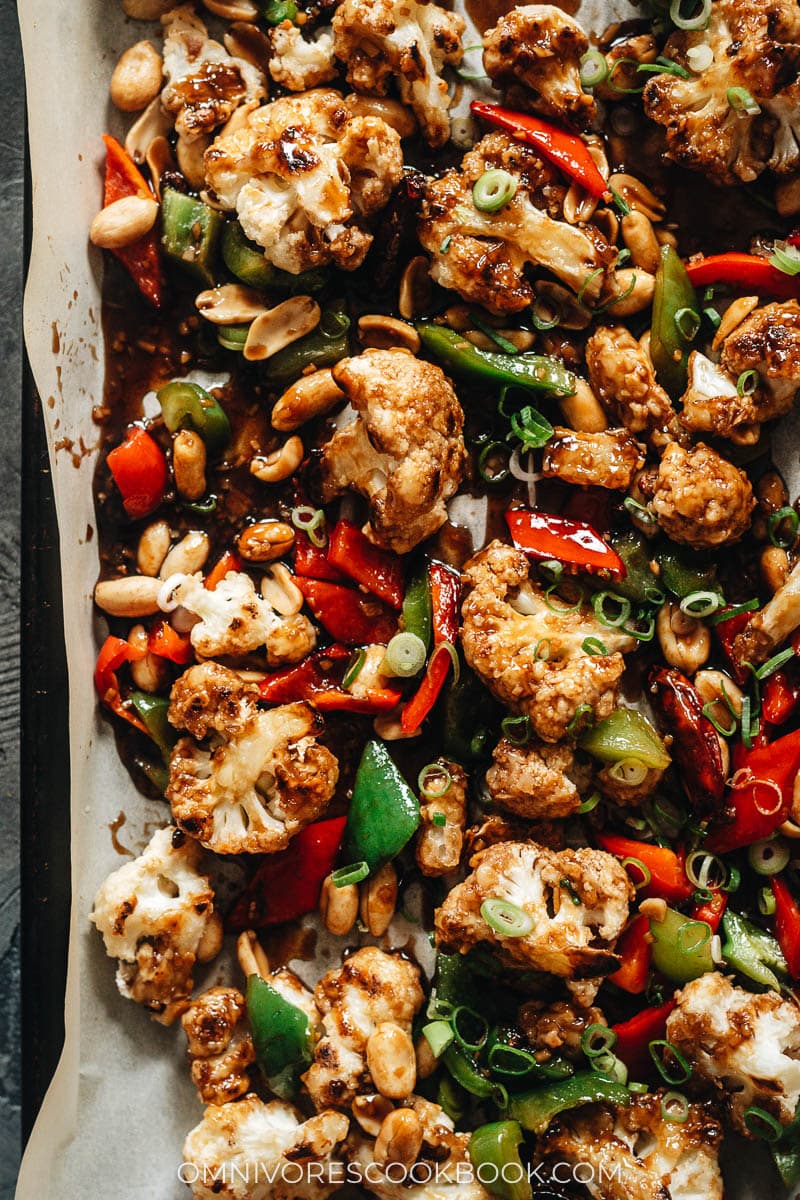
Kung pao chicken is a favorite on every Chinese restaurant menu. But not everyone eats meat and even if you do, perhaps you’re looking for a meatless meal to keep up with your healthy lifestyle.
That’s where kung pao cauliflower comes in. Honestly, I think cauliflower can do just about anything. I’ll show you how to make kung pao cauliflower with that same sticky glossy sauce you love for its savory, sweet, sour, and spicy notes.
Why this recipe
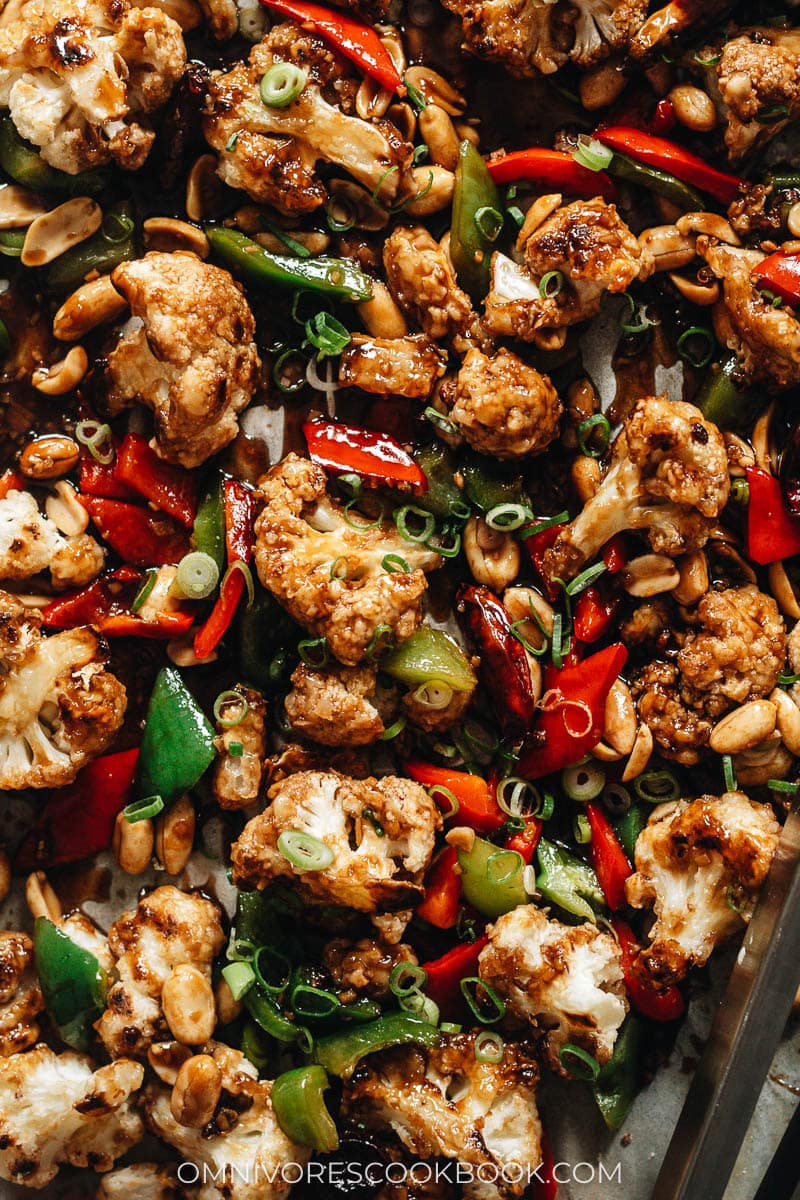
To make it, the cauliflower gets coated with a thin batter and then is baked until crispy. Kung pao cauliflower is definitely a healthier version of this restaurant dish that’s often cooked with lots of oil. As much as I like a crispy battered cauliflower, I actually found that some restaurant versions use too thick of a batter, which robs the taste from the cauliflower.
After testing many formulas, we discovered the best way to create crispy cauliflower for this dish without deep-frying it. So the coating is a bit thinner than the kind you see in restaurants, especially with fried cauliflower dishes, yet it’s crispy and satisfying.
Honestly, I like the thin coating better. Not only is it healthier, but it also brings out the best texture of the cauliflower. Kung pao cauliflower is a vegetarian dish, but if you use plant milk, you can make it completely vegan.

Ingredients
I know the ingredient list looks long, but don’t let that scare you off.
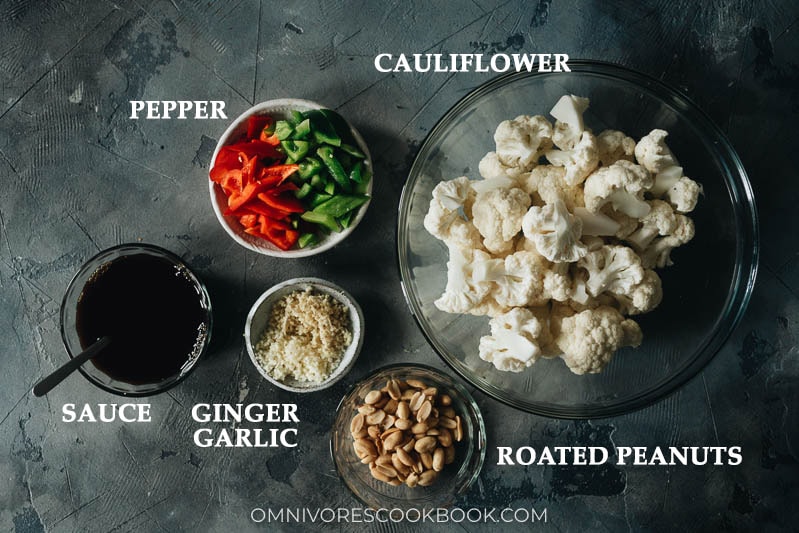
Once you’re done prepping, you can group your ingredients into a few bowls (See the picture below, plus the coating for the cauliflower).
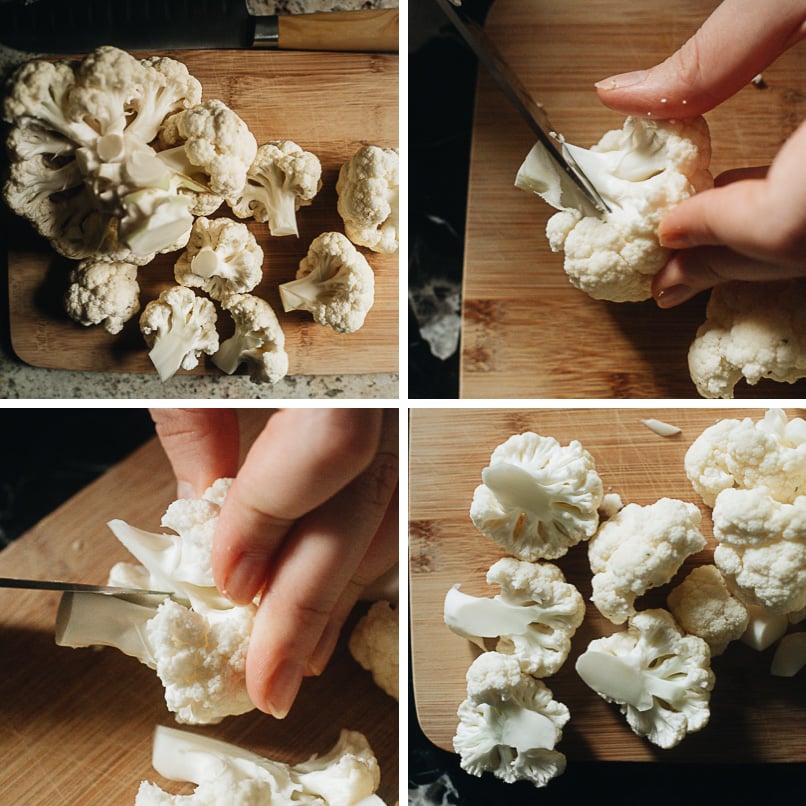
TIP – How to cut cauliflower for roasting
After many rounds of testing, we found out that it’s best to cut the cauliflower into small-ish bite-sized florets. This way, the dish will result in a better texture with properly cooked cauliflower and a crispy coating. If you cut the cauliflower too big, the cauliflower will release too much moisture during the baking and it will prevent the batter from crisping up.
To cut the cauliflower:
- Cut off the florets
- Use your knife to split the florets into 2 to 3 pieces, depending on the size
- I like to cut the stem of florets with a tilted knife, then use my hands to split the head part.
- This way, you will have very few cauliflower “crumbles” falling off during the cutting. The cauliflower will have a slightly uneven surface that yields a better texture on the thin ends, plus it holds the sauce better.
Cooking process
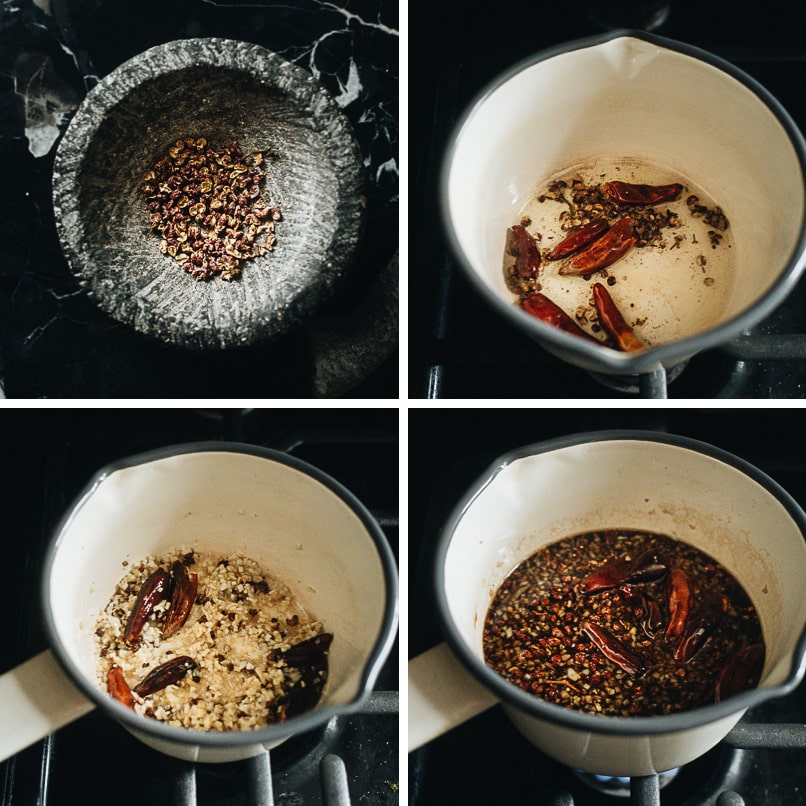
Make the sauce
- Grind the Sichuan peppercorns
- Cook the peppercorns and dried peppers to release fragrance
- Cook the ginger and garlic
- Pour in the sauce liquid and cook until thickened
PS. I prefer to grind my Sichuan peppercorns a bit coarse, so it’s not overwhelmingly numbing.
Roast the cauliflower
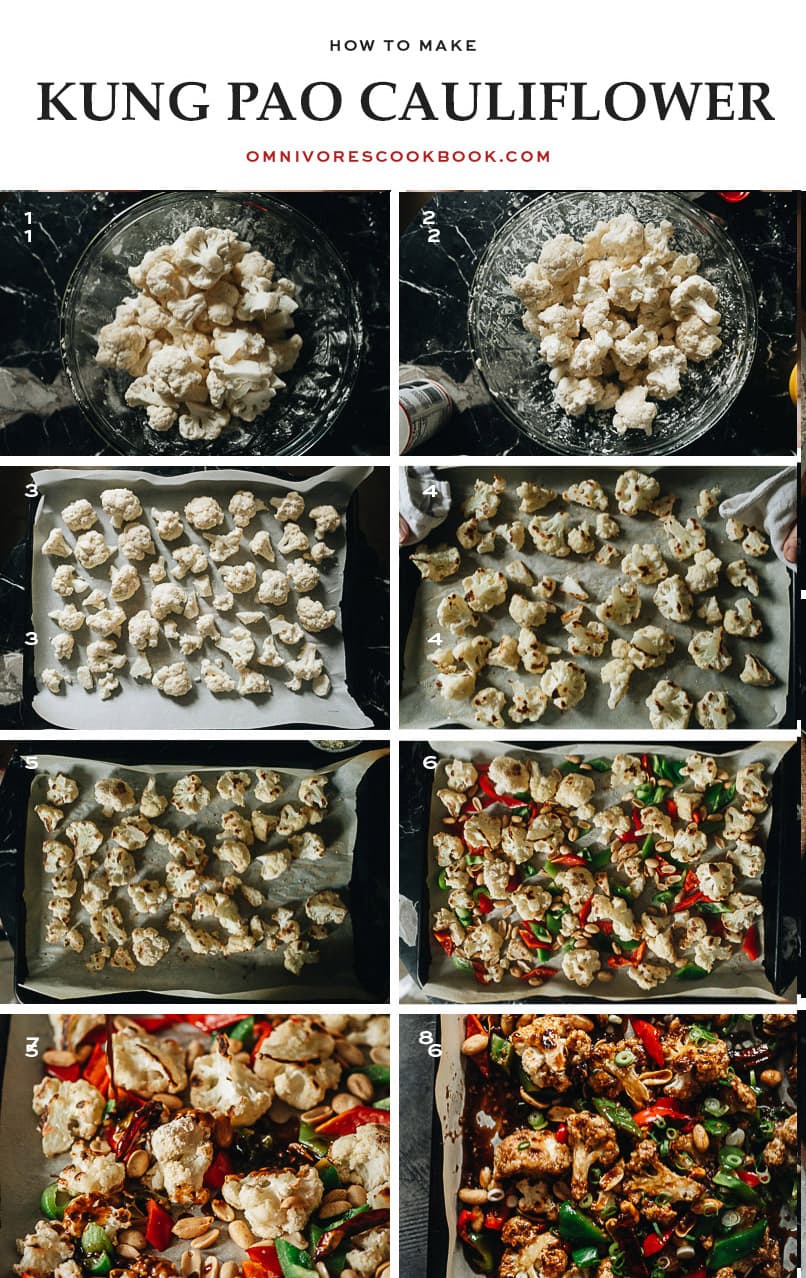
- Coat the cauliflower with oil and milk
- Then coat the cauliflower with the dry ingredients
- Arrange the cauliflower on a baking sheet, leaving space in between (very important)
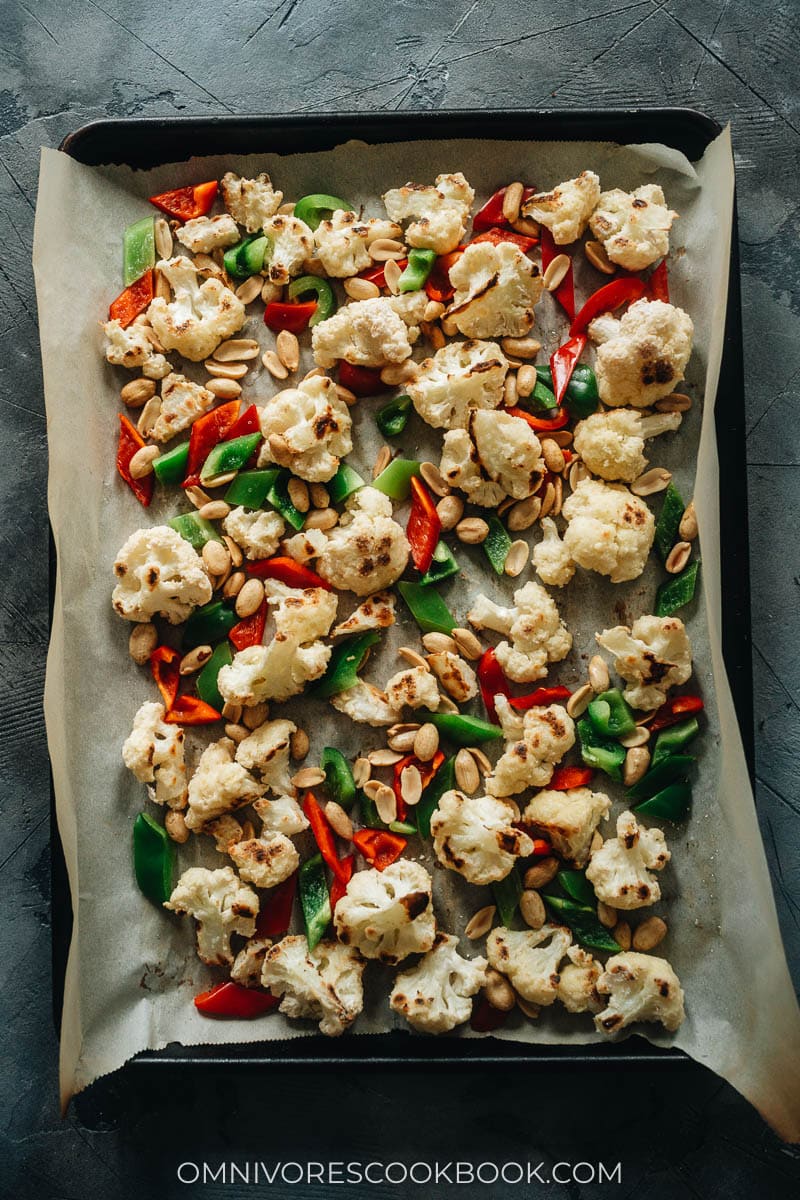
- Roast for 15 to 20 minutes and flip once
- Keep roasting until the cauliflower is cooked and the coating is super crispy
- Add the peppers and peanuts and give it a quick roast
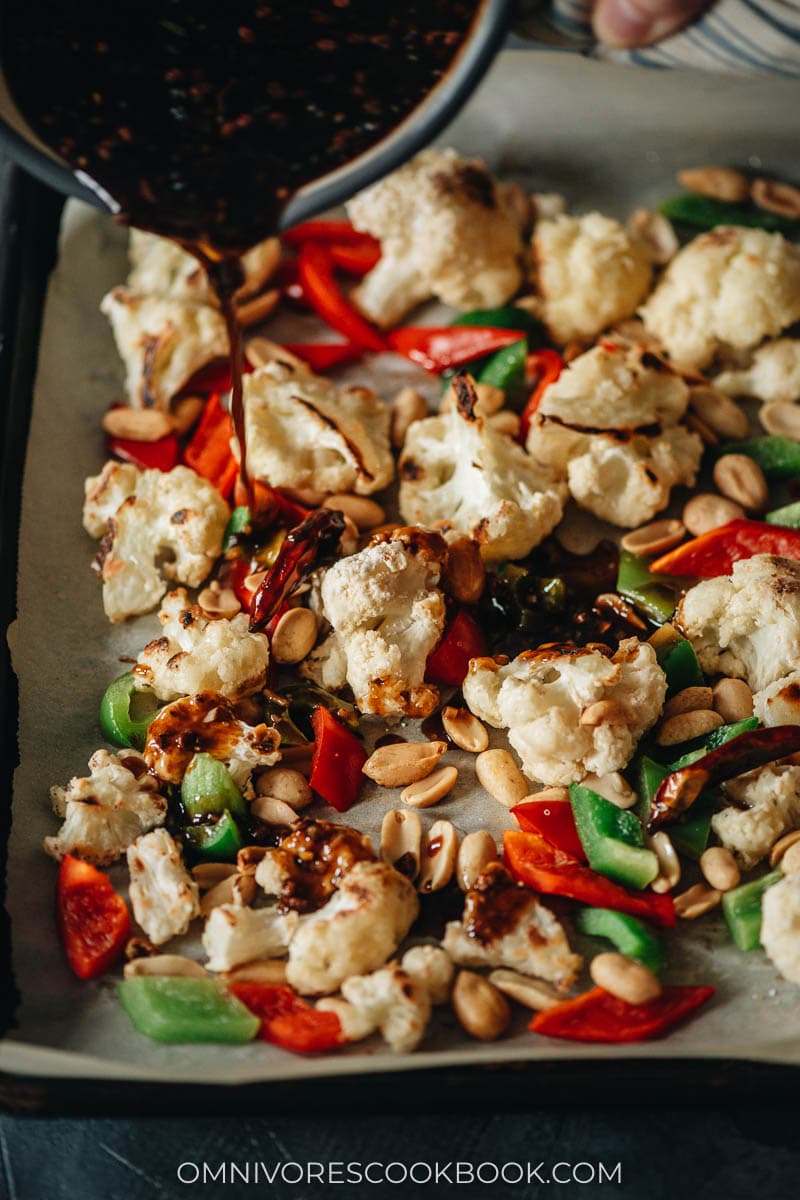
- Stir in the sauce
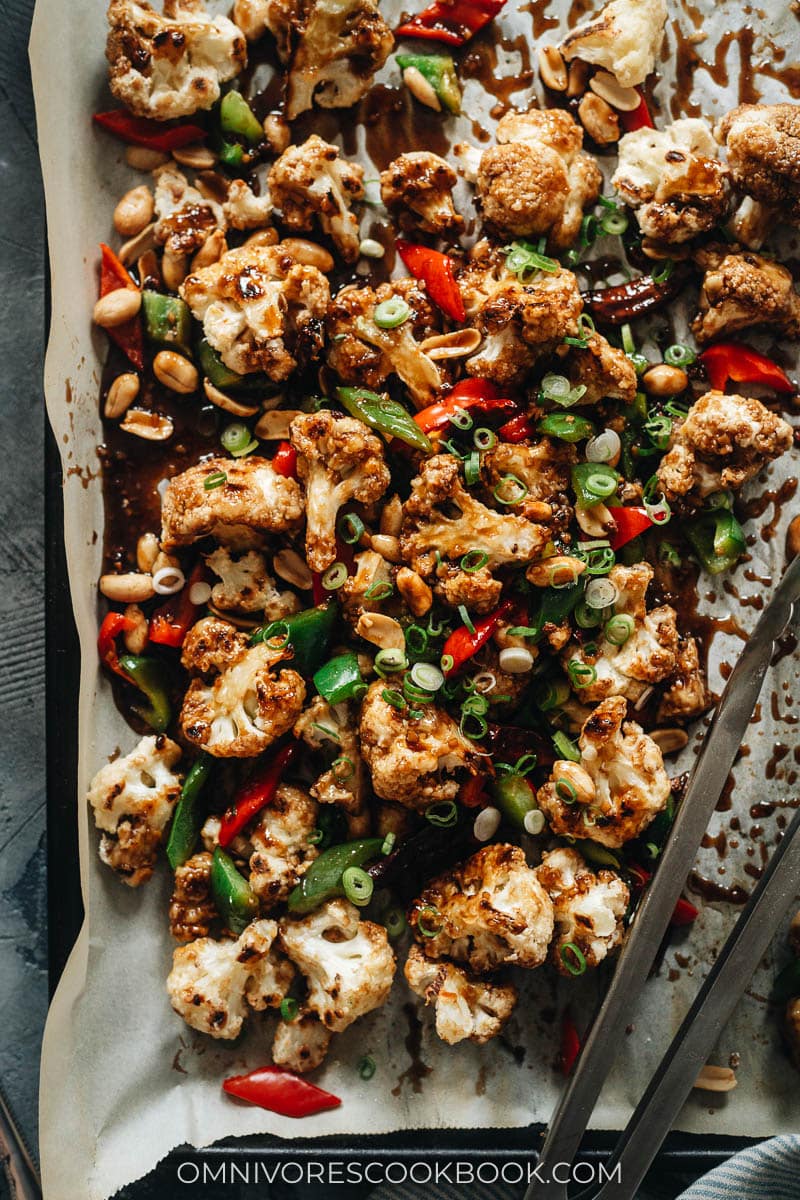
- Coat the cauliflower with sauce and enjoy!
You’ll be surprised how crispy this baked cauliflower turns out.
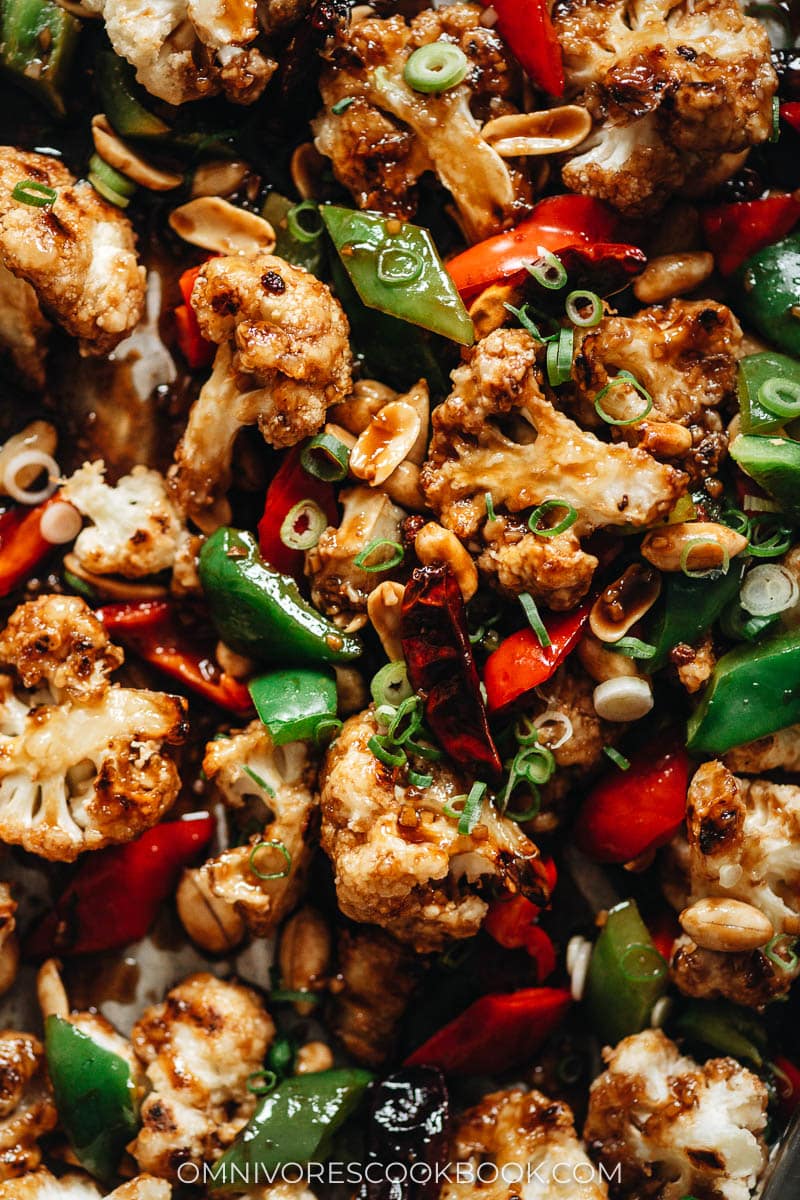
This dish is so easy and simple to put together and you’ll be rewarded with scrumptious flavors and fragrant aromas. Definitely pair kung pao cauliflower with rice to make a dinner that you’ll love. It can work as an appetizer or be served as one of your main dishes when you’re having people over. Why not invite them for a homemade Chinese takeout-themed dinner? It will be perfect!
Want to learn more about Chinese Cooking? Sign up my newsletter to receive the 5-Day Chinese Cooking Crash Course and recipe update!
Kung Pao Cauliflower (宫保菜花)
Ingredients
- 1 medium or small head cauliflower , cut into small florets
- 1 tablespoon peanut oil (or vegetable oil)
- 1/4 cup flour
- 1/4 cup milk (or non-dairy milk)
- 1/4 cup cornstarch
- 1/2 cup roasted peanuts
- 1 bell pepper , cut into 1” (2.5 cm) pieces
- 4 green onions , cut into bite-sized pieces (*Footnote 1)
Sauce
- 1/4 cup and 2 tablespoons Chinkiang vinegar
- 1/4 cup Shaoxing wine (or dry sherry)
- 1/4 cup soy sauce
- 1/4 cup sugar
- 1 tablespoon cornstarch
- 1 tablespoon peanut oil (or vegetable oil)
- 1 teaspoon Sichuan peppercorns , crushed
- 6 dried Chinese chili peppers
- 1 ” (2.5 cm) ginger , minced
- 4 cloves garlic , minced
Instructions
- Preheat the oven to 450°F (232°C). Line a large baking tray with parchment paper and spray with a light coating of cooking spray.
- Combine the Chinkiang vinegar, Shaoxing wine, soy sauce, sugar, and cornstarch in a medium-sized bowl. Stir to dissolve the sugar and cornstarch.
- Dry the cauliflower thoroughly with paper towels. Add the cauliflower florets to a large bowl. Drizzle with oil and toss a few times. Add the flour and toss until the the florets are coated. Pour in the milk and toss again. Add the cornstarch and toss until the cauliflower is evenly coated. Spread the coated cauliflower on to the lined baking tray, making sure the pieces are evenly spaced out with gaps in between (*Footnote 2). Bake for 25 minutes in total. Check the cauliflower at the 15- and 20-minute marks. If the bottom is browned, flip the cauliflower. Once the baking is finished, the cauliflower should turn golden brown spotly and crispy throughout.
- While the cauliflower is baking, make the sauce. Add the oil, peppercorns, and dried chilis to a small saucepan and turn the heat to medium-low. Once they become fragrant, about 1 minute, add the ginger and garlic. Cook until they are just starting to brown, another 1 to 2 minutes. Stir the sauce again to re-dissolve the cornstarch completely and add it to the pan. Raise the heat to medium-high and bring it to a boil. Boil until the sauce is just thickened. Remove the pot from the heat and set it aside.
- After the cauliflower has baked for 25 minutes, pull the tray out and turn the heat to 500°F. Add the peanuts, peppers, and green onions. Put the tray back in the oven and cook for another 5 minutes, until the peppers are lightly cooked.
- Pour the sauce over the cauliflower and gently toss to coat (*Footnote 3). Serve immediately as a side or a main.
Notes
- It’s important to cut the cauliflower to the right size to ensure even roasting and browning. See the blog post above to see how to cut the cauliflower.
- It’s very important to leave some space between the cauliflower florets, so the cauliflower will release steam and turn crispy once baked. If your baking tray does not have enough space, bake the rest in a separate tray. You can bake both trays at the same time by place the smaller tray on a different rack.
- If you’re not serving the dish immediately, let the cauliflower cool off for a bit before tossing in the sauce. The cauliflower will stay crispy better this way.
Nutrition
If you give this recipe a try, let us know! Leave a comment, rate it (once you’ve tried it), and take a picture and tag it @omnivorescookbook on Instagram! I’d love to see what you come up with.
More delicious vegetarian/vegan recipes
- Bok Choy Soup
- Fire Roasted Eggplant with Garlic Vinegar Sauce
- Napa Cabbage Stir Fry with Vinegar Sauce
- Chinese Napa Cabbage with Glass Noodles
- Instant Pot Lentil Soup (Chinese Style)
Lilja Walter is a part of the Omnivore’s Cookbook team and worked closely with Maggie to develop and test this recipe.



Incredibly flavorful and easy to make!
So happy to hear you like this dish! It’s one of my favorites 🙂
Could you use frozen cauliflower for this?
I wouldn’t use frozen cauliflower because you probably ended up overcook the cauliflower. If you want to use the sauce, I would simply pan fry or broil the frozen cauliflower to get them char a bit on the outside, then add in the sauce. If you thaw the cauliflower first, then drain them well and lightly coat a layer of cornstarch, then pan fry. I think it will work better this way.
Made it tonight- it was fabulous! Super easy to put together as well. Will definately make this again
So happy to hear it and thanks for leaving a positive review 🙂
Fantastic! I am so pleased you loved the recipe,
Fantastic! made this tonight and the method of cooking the cauliflower is a game changer. Added roasted tofu but made as is – wonderful recipe. Definitely going into our dinner rotation!
I was so excited to make this but somehow it turned out barely edible because the vinegar overpowered all the other flavors. I ate it with a lot of white rice but I would really like to figure out what I might have done wrong. How is this supposed to taste and do you have some tips when trying this again? Thanks!
I’m sorry to hear you didn’t like the taste of the sauce. Could you let me know what type and brand of vinegar you used? Some of the Chinese black vinegar is very pungent than Chinkiang vinegar, which might result in an extra sour sauce.
If you want to give it a try next time, what you can do is to slightly reduce the vinegar and taste the sauce once it’s cooked. If it tastes too sour, you can add a bit more sugar and soy sauce to balance it.
Love this dish, beats the chicken version any day! Made the 4-person amount by accident, but was not a problem to finish it off just the two of us, we were so full but it was worth the calories :D!
love that this is cauliflower, I eat it regularly but is has no flavor! So much better in this recipe, thank you!
Wonderful flavour. I also really loved the texture of the cauliflower. I made it with noodles and there was enough sauce for the noodles as well. My whole family loved it and I will definitely make it again.
Made this yesterday! Fantastic! Even with not having all the sauce ingredients on hand—-that has been remedied! (Love you. Amazon!) my husband had requested cauliflower that doesn’t taste like regular cauliflower! He had thirds!!!!
Sooo good!! Deliciously crispy with amazing flavor. Will definitely make again.
Super flavorful, easy, and delicious! We loved it.
This recipe is absolute perfection. Thank you for posting it!
The oil/flour/milk/corn starch coating is pretty amazing and keeps the cauliflower crispy throughout the meal. We really like the sauce, but had a lot left over. I drizzled about 1/4 of it on the cauliflower and tossed it and served the rest on the side. Next time I will double the cauliflower part of the recipe because we had nothing left over and my wife and son were asking for more! I’ll probably add a bit more dried chilis to the sauce as well to give it more kick.
I made this for lunch today, and it was delicious! What an innovative recipe! Really–most recipes are rehashes and variations of the same techniques and dishes, but this one was truly outstanding in the way it was a cross between a sheetpan supper and a stir fry. And as much as I love kung pao chicken, using cauliflower for a light lunch was a welcome change. We ate our food in two batches, and I didn’t sauce the second batch until it was time to eat it. For the second batch, I just dabbed sauce here and there–a much lighter coating than for the first. I preferred the lighter coating, as it kept the cauliflower crispier, but also, the cauliflower is a little more delicate flavorwise than meat, so it doesn’t need as much. 10/10 recipe–thanks so much for it!
I had the sam experience another reviewer. The vinegar was way overpowering and inedible. I cut down slightly on the sugar since it seemed like a lot and followed the recipe otherwise. I’m going to try to heat it up tomorrow with lots of sugar to balance the vinegar and see if it can be saved. Next time ill cut the vinegar as I trust Maggie.
amazing, and your right the Cauliflower turned out crispy, best crispy recipe ever. and the Kung Pao Cauliflower was really good, thanks
Smashing! Versatile, we chucked the roast cauli on wilted spinach and mushrooms. Delicious.
Such a good recipe! I actually took a hairdryer to my cauliflower to dry it out really well and boy did it crisp up! I also used Kashmiri Chili powder instead of the dried Chinese Chili Peppers just because that’s what I had in my cupboard. Delicious!
Maggie, I love 100% of your recipes. Truly. They’re outstanding and they help me make my favorite restaurant foods at my house AS GOOD AS MY FAVORITE SPOTS. My entire household benefits. So many hits, they’re hard to even name.
That said, is it possible to start a pay site, where we can subscribe, and not have these super annoying ads that constantly move the page away from what I’m trying to read or follow?
Not saying this lightly. Scrolling on an iPad is impossible. I would gladly pay to subscribe to your recipes anyways. But especially if I could avoid what are the most intrusive ads of any site I visit. Please take this in the spirit it’s intended. It’s not meant to be a criticism. Your content is unparalleled. And the extent to which I use it makes this a legit request!