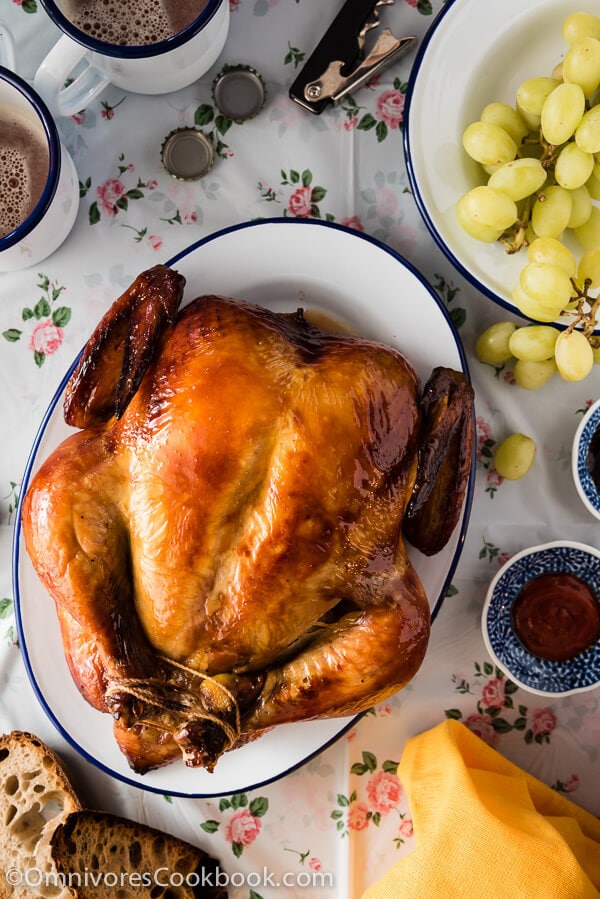
This Cantonese roast chicken tastes even better than one at a good restaurant. The skin is truly crispy and the meat so moist and tender. Want to to cook a perfect Asian style chicken in the oven? Look no further!
I love Cantonese style BBQ and one of my favorites is the roast chicken. I’ve been doing research on this dish and have conducted quite a few experiments in my kitchen. Luckily, I didn’t have to take too many detours to develop a recipe I’m really proud of. I know, calling it “the best” sounds a bit cheesy. But after we devoured half the chicken the day it was cooked, Thomas insisted that I use the word “perfect” in the recipe title.
Our theory is, if we can’t make our roast chicken taste better than a Costco rotisserie chicken, it’s not worth doing. The result exceeded our expectations, well beyond the Costco standard.
I’m confident to say, this recipe is definitely worth your time and effort.
Let’s take a quick look at how this recipe works.
The key: The chicken is brined in a soy sauce based mixture for 36 hours. It is then air dried for half a day, until the liquid in the skin is completed removed. The chicken will be roasted at 400 F (200 C) – a temperature that is slightly higher than one you’d typically see for roasting chicken in the oven. The high temperature will not only brown the chicken, but also render the fat completely to create a super crispy skin while the meat is still very moist and tender.
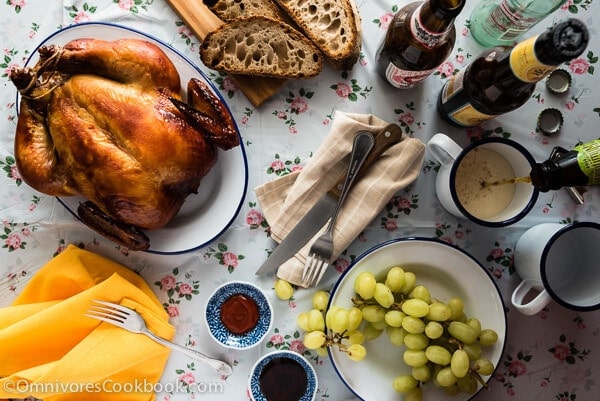
I’ll explain a bit more about each step, with a few things to note:
(1) The very flavorful marinade lays a good foundation. It contains tons of fresh herbs to infuse the best flavor into the chicken. You’ll want to devour the whole thing when it’s done, even without a dipping sauce.
(2) You have to marinate the chicken long enough, for at least 24 hours. I recommend 36 hours, if possible. During my experimentation, I tried marinating the chicken overnight, for 24 hours, and for a day and a half. I found that 24 hours’ marinating time will create a flavorful chicken, but that when eating certain parts (such as the thickest part of the breast), the marinade only went half way through, leaving a layer of meat a bit plain. The 36-hour timeframe will get the whole bird seasoned evenly and thoroughly.
(3) Then you need to let the chicken dry completely. This is a technique commonly used for all sorts of Cantonese barbecue. No matter whether roasting a duck, pig, or goose. This process helps to create a shiny and crispy skin, without using baking powder or any other food additive.
Do not be afraid to leave the chicken at room temperature for a few hours. It will be preserved by the salt from the marinade and won’t spoil quickly. I find it helpful to leave the bird in front of an air conditioner vent. The airflow will help dry the bird faster.
Some recipes suggest you dry the chicken in the fridge. I personally don’t like this method, since it takes more time (overnight or even longer). Plus, you’d need to let the bird to return to room temperature before baking, so it adds an extra day to the cooking process.
(4) Let the chicken roast all the way through without flipping, unless you have a rotisserie oven (I don’t). I tried flipping the chicken in my experiments, but this turned out to just be a good way to rip its skin apart. It will NOT create a crispy skin on the underside of the chicken.
I admit that the back part of the chicken skin looks pretty unimpressive if you never flip it, but as long as you tie the chicken legs together (doing this “lifts” both sides of the chicken), it will only leave a very narrow part that touches the baking rack. In short, 90% of the chicken skin is perfectly roasted, with just a small compromise. You can save the unimpressive part if you cannot finish the whole bird the day it’s cooked. By the way, I will teach you how to create crispy chicken (as good as fried) using the leftovers, in a coming post.
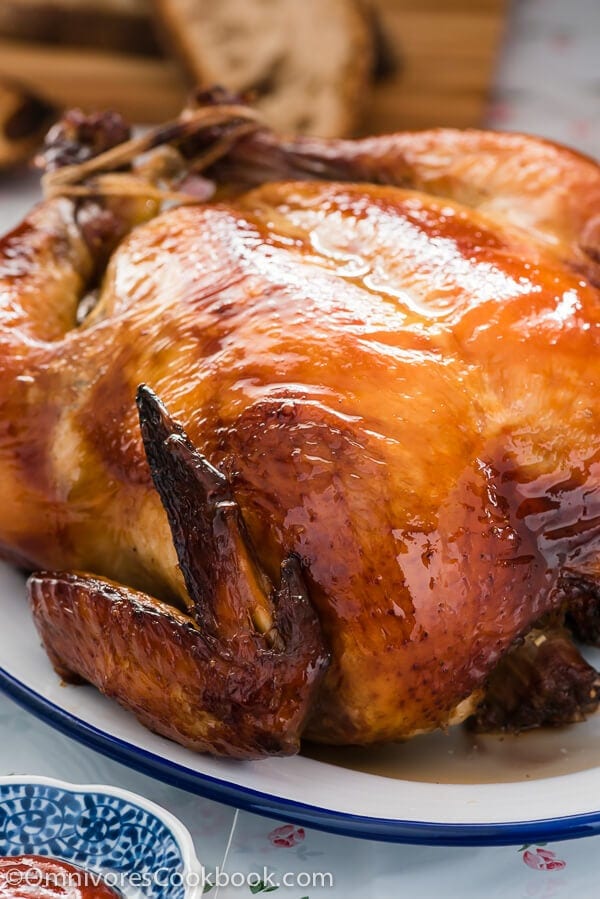
(5) Wrap the wing tips and the ends of the legs with aluminium foil before baking. These parts cook and brown very fast. I found it helpful to spray some oil onto the foil before wrapping, so the foil will come off easily after baking, without tearing the skin away.
(6) Turn on your ventilation fan from the beginning of baking. Your house will smell like chicken for the next two days if you turn on the fan too late.
(7) Keep an eye on the chicken during the cooking and cover the browned part with aluminum foil. Again, because I don’t have a fancy rotisserie oven, some parts of the chicken were definitely cooked faster. Make sure to check the chicken every 10 to 20 minutes. If you find certain parts are already dark brown, cover them with small pieces of foil. It will prevent these parts from burning and won’t interfere with the browning of the rest of the chicken. Wear a pair of oven mitts when you do this.
I usually end up covering, at some point: the chicken butt, wings, legs, and where the neck would be.
(8) Do not overcook! Use a thermometer to check on the chicken every 10 minutes toward the end of the cooking. Stop baking immediately when the thickest part of the leg reads 165 F (74C).
That’s it. Although the chicken is baked at a slightly higher temperature, because the brining process locks the moisture inside, the chicken will turn out very very tender and juicy (as tender as a Costco rotisserie chicken!). Plus, because of the air-drying process, it creates the type of uber-crispy skin that you can only get at a restaurant. Basically, it’s a perfectly roasted chicken.

Cooking a whole bird takes some time and effort. But if you plan the process carefully, you’ll find the active cooking time is far less than you might have imagined. And, if you follow my recipe closely, you won’t make a mess in your kitchen at all.
If you are very busy during the week, I suggest the schedule below:
- Marinate the bird on Friday evening. Let it sit in the fridge until Sunday.
- Pull the chicken out around noon on Sunday. Let dry for 4 to 6 hours.
- Cook the chicken in the late afternoon so you can serve it for dinner.
- Save all the leftovers to enjoy during the coming week. Collect all the bones and store them in the freezer to cook chicken stock later.
I hope you enjoy the recipe!
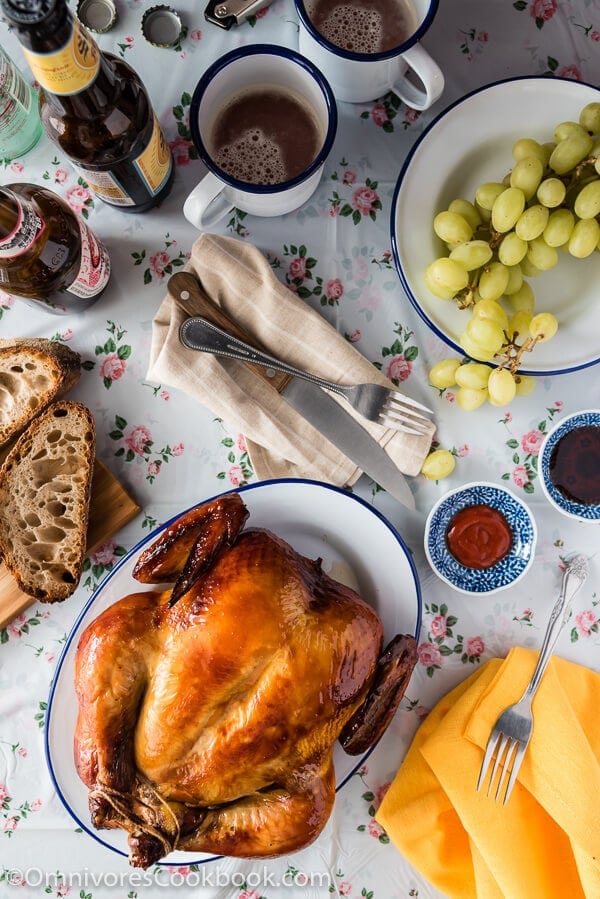
Do you like my recipes? Sign up for Omnivore’s Cookbook’s weekly newsletter to get the latest updates delivered to your inbox and a free e-cookbook! And stay connected via Facebook, Instagram, Pinterest and Google+. Thanks for reading and happy cooking!
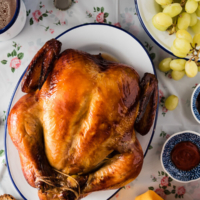
The Best Cantonese Roast Chicken (广式烧鸡)
Ingredients
- 1 (4 to 5 pound / 2 kg) whole chicken
Marinade
- 4 big cloves garlic , sliced
- 1 thumb ginger , sliced
- 1/2 cup soy sauce
- 1/4 cup oyster sauce
- 2 tablespoons Japanese sake (or Shaoxing win, or dry sherry)
- 2 tablespoons sugar
- 1/2 teaspoon salt
- 1/8 teaspoon freshly grounded black pepper
Instructions
- Rinse chicken with tap water and pat dry with a paper towel.
- Combine all the ingredients in a bowl and mix well.
- Transfer the chicken to a gallon-sized Ziplock bag, legs up. Add half the marinade into the cavity of the chicken. Pour the rest of the marinade onto the chicken skin. Seal the bag halfway across. Try to squeeze out as much air as possible. Seal the bag. Rub chicken through the bag to make sure the marinade and herbs are evenly dispersed.
- Place chicken in fridge for 24 to 48 hours (*footnote). Flip once during marinating.
- On the day of cooking, place a cooling/roasting rack over a baking sheet.
- Transfer the chicken from the bag to a large plate. Discard marinating liquid and all the herbs. Make sure the cavity of the chicken isn’t holding any liquid. Place the chicken onto the roasting rack, breast side up.
- Place the baking sheet near an AC vent or in front of a fan. Let the bird air dry completely. It will take at least 4 hours if you don’t use a fan. To speed up the process, I sometimes use a hair dryer to dry the chicken. You can also place the chicken in the fridge to dry, but it takes longer.
- The surface of the chicken must be completely dry in order to yield crispy skin after baking. When the chicken is ready to bake, the surface won’t be shiny, with almost a leathery feel when touched.
- Preheat oven to 400 degrees F (200 C).
- Line the baking sheet with aluminum foil to catch the chicken grease. Place the roasting rack on top. Spray a thin layer of oil onto the roasting rack. (*see footnote 2)
- Tie chicken legs together with kitchen twine. Spray a thin layer of oil onto another sheet of aluminum foil. Cut foil into small squares and wrap around the end of the chicken legs and wings tips. (*see footnote 3)
- Bake on the lowest rack in the oven for 30 minutes. Rotate chicken (don’t flip). Bake for another 30 minutes. Rotate again. Continue baking until the thermometer reads 165 F (74C) when probing into the thickest part of the leg. It takes me 1 hour and 30 minutes in total to roast a chicken from Costco (about 5 pounds).
- During the final hour of baking, check on the chicken every 10 to 20 minutes. When you notice that any part of the chicken is already browned, cover that part with aluminum foil to prevent it from burning. If you think this is too much trouble, you can simply cover the whole chicken with a large piece of foil when most parts are nicely browned.
- When the chicken is cooked through, let cool for 15 minutes before slicing.
- Serve chicken by itself as a main. Or you can serve it with sriracha, plum sauce, or soy sauce.
- To reheat leftover chicken, my favorite way is to cook it with a bit of oil on the stove top. The chicken will get nicely charred and heat up in a few minutes without drying out (which happens if you reheat it in the oven).
Notes
- I highly recommend you marinate the chicken for at least a day and a half (start marinating in the evening on day 1, take out to dry around noon on day 3, cook in the late afternoon on day 3). The seasoning will be fully absorbed by the chicken and the whole bird will be much more flavorful.
- I forgot to spray oil a few times but the chicken still came off the roasting rack without any problem. Do this if you can remember, just in case.
- The aluminium foil prevents the thin parts of the chicken from burning. By spraying oil onto the foil, the chicken skin won’t be torn off when removing the foil after baking.



This is about your Cantonese Roast Chicken recipe.
I recall that you “found that 24 hours’ marinating time will create a flavorful chicken, but that when eating certain parts (such as the thickest part of the breast), the marinade only went half way through, leaving a layer of meat a bit plain. The 36-hour timeframe will get the whole bird seasoned evenly and thoroughly.”
But my chicken is just about 3 lb – not 5lb as the Costco bird you describe – so is a 36-hour marinade too long?
It’s been 6 hours so far and I’m worried.
I don’t usually leave comments, but this is a comment worthy dish. I’m not a novice cook, but I am new to Chinese cooking. Over the past year, I’ve tried quite a few of your recipes. All delicious! Last night I cooked this roast chicken, and my friend declared it was the best chicken I’ve made for him. It couldn’t have been easier and was so flavorful. Thank you for making Chinese food accessible and for creating wonderful recipes.
Yum! We just made this and the flavors are so good and the chicken was so juicy. Unfortunately we charred the skin (we had a very small chicken in a small oven so was unsure about timing) but next time will try and tent it earlier so we can get that crispy skin as well!
Great recipe! Thank you for sharing
Amazing website and Delicious recipes
I didn’t use any rice wine as it’s really expensive in Bali. I also cooked in a toaster portable oven. It was so so nice thank you
This was absolutely delicious . I didn’t cover anything in foil yet it was perfectly crispy , marinate was fantastic. Super recipe. My Chinese wife says I am now Chinese guy.
Great recipe, Only problem is the skin isn’t enough to satisfy my guests. It was so delicious that the poor bird was stripped naked within minutes of serving . Good thing the birds flavor was equally delicious and the rest was history. I cooked straight on the rack with drip pan below. Almost got all the skin dark bronze. Have done the same when cooking duck and it gets the bird cooked all around pretty well. With Duck I filled the carcass with sauce and bread and tied it up tight so it wouldn’t lose the juices. Seemed to work.
This recipe was awesome! The whole family enjoyed!
BBQ Roaster extraordinaire.
I used this recipe again and roasted it in an outdoor cooker called the Big easy by Charbroil. Took about one hour and came out deep bronze, crispy and juicy on the inside. By far the best BBQ chicken for chowing down around the table with friends and cocktails. Rich flavor and delightful crunchy skin. I should have done two.
Hi, is it possible to prepare this in an air fryer? What would be your advice? Thank you.
I haven’t tried this one in an air fryer but I think you definitely can. I would lower the baking temperature by 50 F, which is pretty much what I do when I convert an oven recipe to an air fryer one. You should make sure that the chicken is small enough so it can sit in the center of the air fryer basket with enough gaps on all sides, so the hot air can circulate. You probably need a shorter cooking time depending on the size of the chicken that fit in your air fryer. Start checking the chicken at 50 minutes mark to make sure it’s not overcooked.
Thanks, that’s super helpful. I’m going to try it next week. I’ll let you know how it turns out.
Great recipe! My whole family gobbled it up, even my picky eater. This will definitely go into my normal rotation.
It tasted good, but I did not get the crispy skin advertised. I dried it for four hours, as recommended and used a vertical roaster, cooking at the prescribed temperature. I did the marination in a bowl because I did not have a plastic bag large enough. I did rotate the bird to ensure even coverage.
Can this be done with a turkey?
You can definitely use the marinade on a turkey but I would double check the cooking time, just to make sure the turkey will be properly cooked.
Try spatchcocking the chicken (cutting out backbone). You won’t need to flip it. It will lay flat and cook more evenly. No non crispy side.