Homemade soy milk is more nutritious, tastes better, and is eight times cheaper than the packaged product. {gluten-free, vegan}
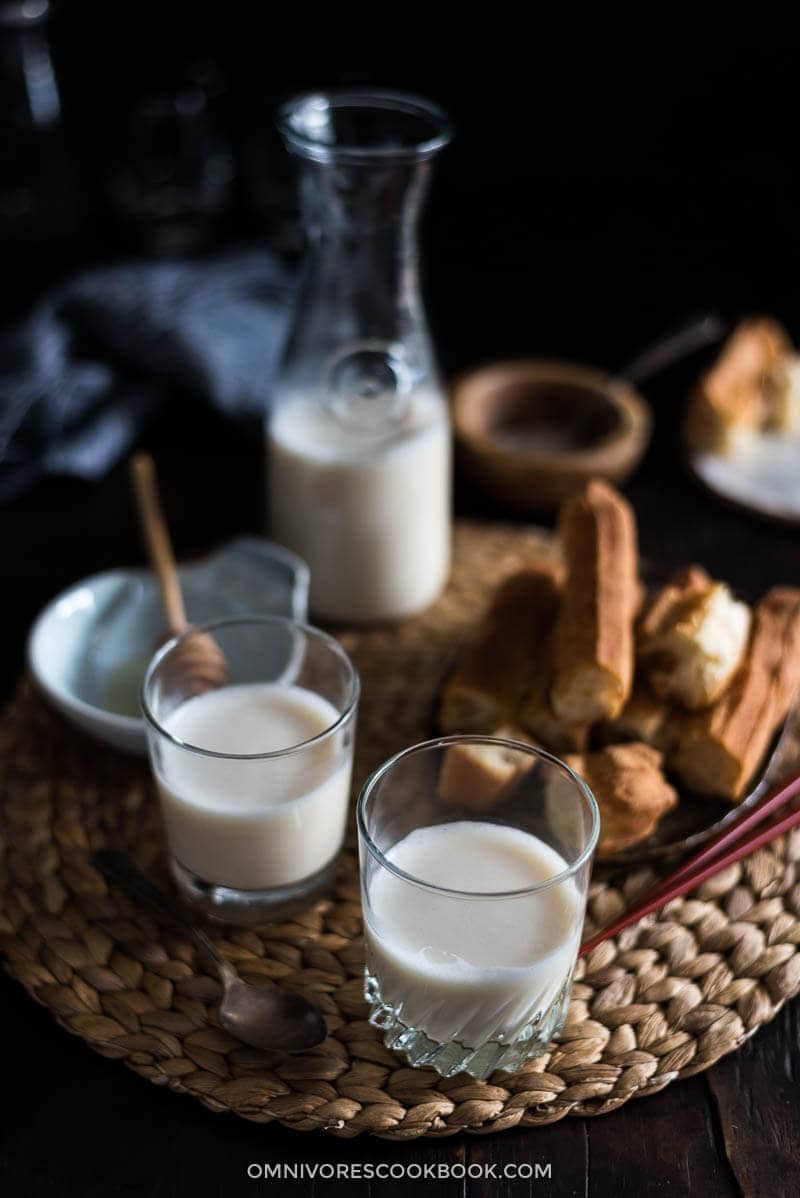
After moving from Beijing to the US, one of the things I’ve missed most has been the breakfast. The freshly made hot soy milk (豆浆) and the crispy, fluffy fried dough sticks (油条) are the best best combo to start a day happy. One of the most famous all-day breakfast chains – Yung Ho Dou Jiang Restaurant – has “soy milk” in its name. So you can imagine how important this morning staple is for Chinese people!
In my parent’s home, the soy milk maker sits right next to the rice cooker. My mom always used it 2 to 3 times a week to make fresh soy and multi-grain milk. Compared to the stuff you buy from the supermarket, homemade soy milk does not contain additives, and you can adjust the sweetness by using less sugar. The fresh and fragrant taste of homemade soy milk is something that manufactured versions cannot get anywhere near.
Why homemade soy milk?
Since I moved to the US, I started off just drinking boxed soy milk. One time I left an opened carton in the fridge and completely forgot about it. To my biggest surprise, it was not spoiled and still tasted fine after sitting in the fridge for more than a month…. when it really shouldn’t last more than a few days! That’s when I decided I needed to eliminate all plastic- and paper-packaged milk and start making my own.
Homemade soy milk has three major benefits:
- It does not contain additives, preservatives and chemical sweeteners
- You can choose to add less sugar, which translates to a lower calorie consumption
- The cost of homemade milk is $1 / gallon (or 4 liters), which is 8 times cheaper than the manufactured versions
Why use a soy milk maker?
Yes, you can always make soy milk without a soy milk machine – I used to do it before I purchased my soy milk maker. But if you enjoy drinking soy milk (or other plant-based milk) on a daily basis, the complicated cooking process might not be very practical.
The problems of using the traditional method to cook soy milk are:
- It requires using and cleaning up lots of equipment
- It requires an expensive, powerful blender, otherwise you end up with a lot of bean pulp and a watery milk
- You need to monitor the cooking process closely so the milk won’t spill and make a mess on your kitchen counter
- It requires removing the bean pulp before cooking the milk, which results in a less flavorful drink with less nutrients
In contrast, a soy milk maker provides solutions to all these problems and offers further benefits:
- You only need 3 minutes to set it up and then you can leave it
- The whole cooking and blending process is done in one machine. This creates less hassle and zero monitoring required
- You can even make soy milk from dry beans without needing to soak them
- Cleaning up is very easy and only takes 3 minutes
- You save 40 minutes active cooking and prepping time
- The soy milk tastes better and is more nutritious, because the bean pulp is cooked in with the milk
How do I use a soy milk maker?
I was so happy when I found Joyoung Soy Milk Maker on Amazon; it’s the same brand that my mom uses. Joyoung is a famous Chinese home appliance maker and owns the largest market share for its soy milk machine – so I made the purchase without a second thought.
The soy milk maker comes with two parts. A body that is plastic on the outside and stainless steel inside, and has a lid with a heating element and a blender attached. When you close the lid and plug in the cord, you’re basically done with setting up the machine.
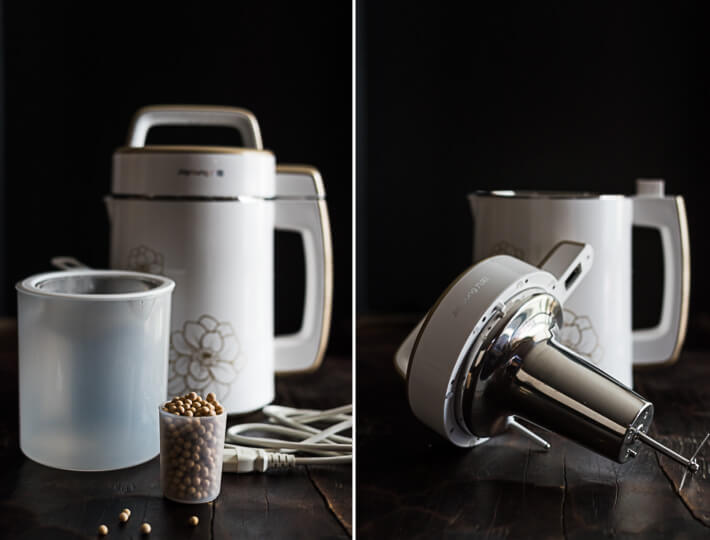
There are a few other things that come with the package.
- A small bag of dried soybeans that’s enough for making one batch of soy milk
- A plastic cup for measuring the beans
- A plastic container and a fine stainless steel mesh to strain the milk
- A not-very-detailed manual (which is my only complaint)
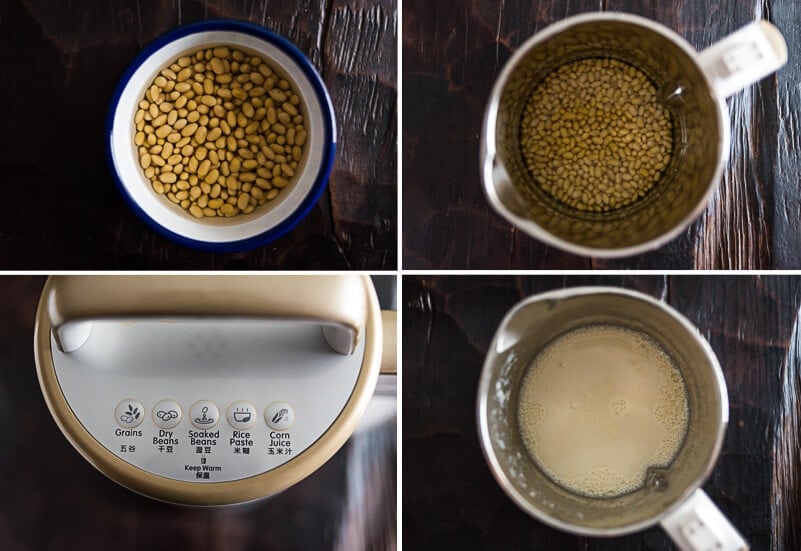
Starting a batch of milk is very easy. You only need to:
- Soak the beans overnight (or not, if you prefer!)
- Add the beans into the soy milk maker and add water to the mark
- Start the machine by pushing one button
That’s it! It only takes like 3 minutes to set up and then you can forget about it.
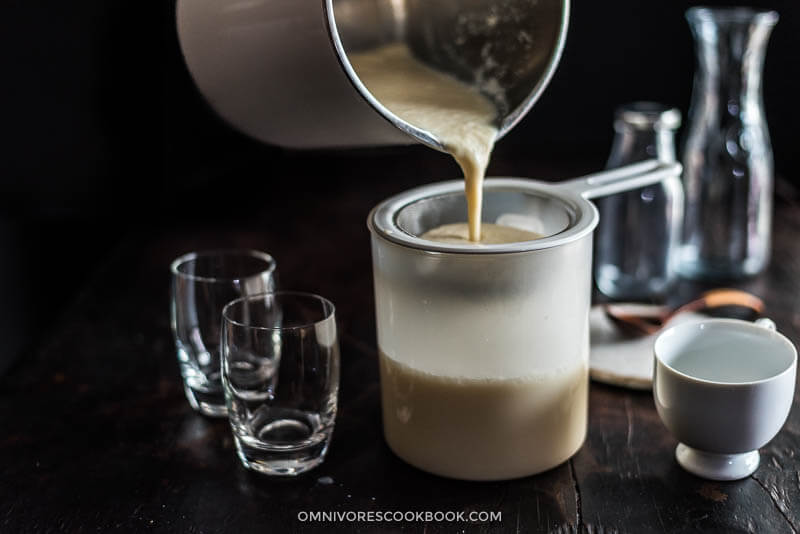
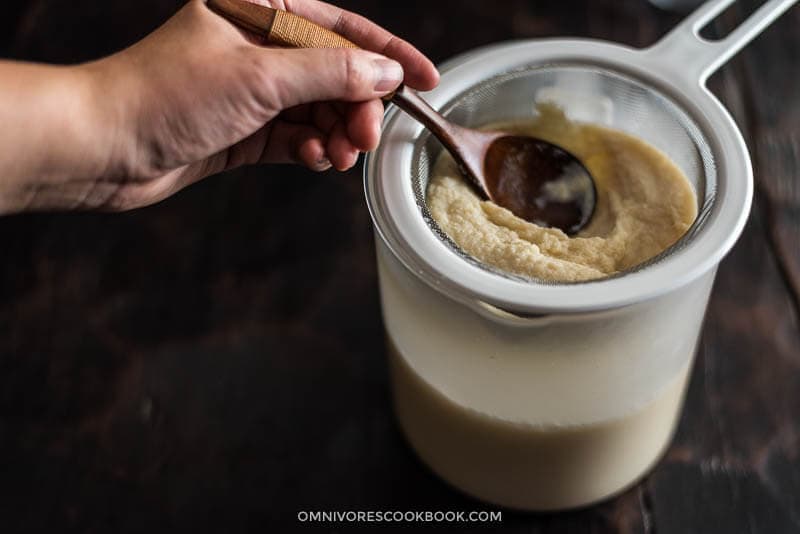
Once the machine beeps again, you will have a pot of freshly made soy milk! Here we need to do one more step to make the milk more smooth – strain the milk through a fine mesh.
This process will remove most of the bean pulp, which you can save and use for cooking pancakes (see recipe below).
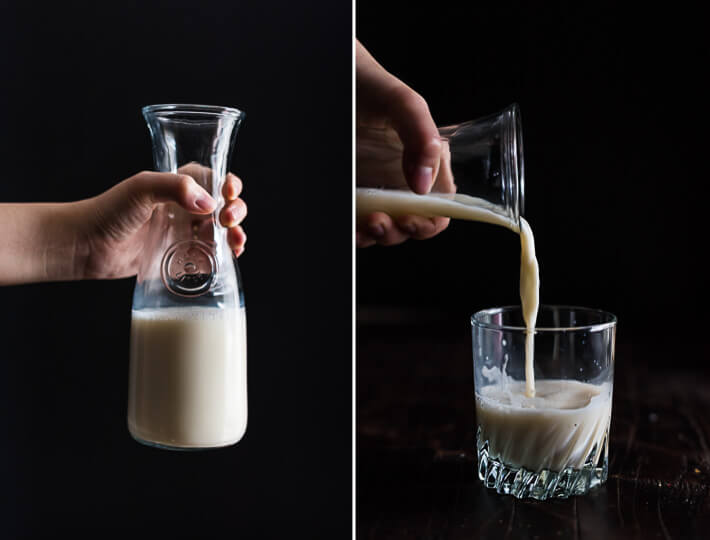
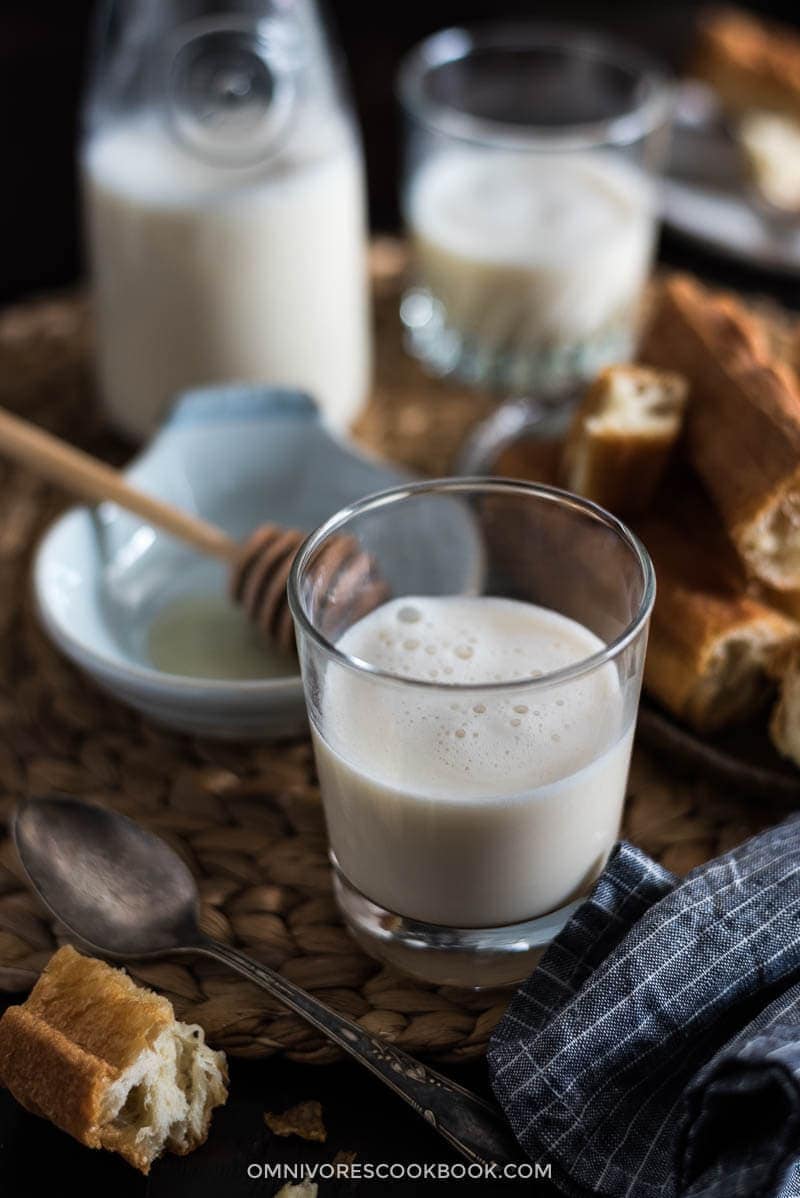
I enjoy my soy milk hot with a little syrup, the same way we do in China. But if you prefer your soy milk cold, you can always cool it off or add ice cubes. I like to store leftover soy milk in mason jars.
Once I finish making a batch of soy milk, I always to wash the machine immediately while it’s warm, so the bean pulp residue comes off easily. Alternatively, you can fill the machine with hot water and place the lid back on to soak it before you’re ready to wash.
What about the leftover bean pulp (okara)?
Most recipes will tell you to throw it away, which is a massive waste. The bean pulp, or kara in Japanese, contains high dietary fiber and calcium and is abundant in protein, carbohydrates and potassium (according to the Japanese Tofu Association).
This bean pulp has a coarse texture that isn’t particularly pleasant if you eat it directly, so you’ll want to use it with other ingredients to alter the texture. My favorite method is to mix the pulp with egg and flour to make green onion pancakes. It takes 10 minutes to whip this together and then you have a full breakfast!
You can see the full okara pancake recipe right next to the homemade soy milk recipe below.
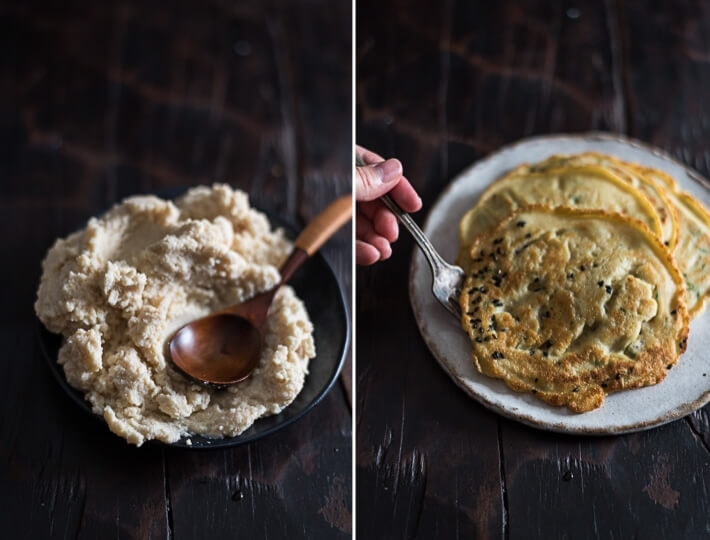
For more vegan recipes using okara, check out this website: okaraproject.blogspot.com
Since I got my soy milk maker, I’ve been making plant-based milk 2 to 3 times a week because it’s unbelievably easy! Homemade soy milk is a great snack that I drink in the morning, with dinner, or during the day. I like the fact that it keeps my stomach satisfied and my body hydrated.
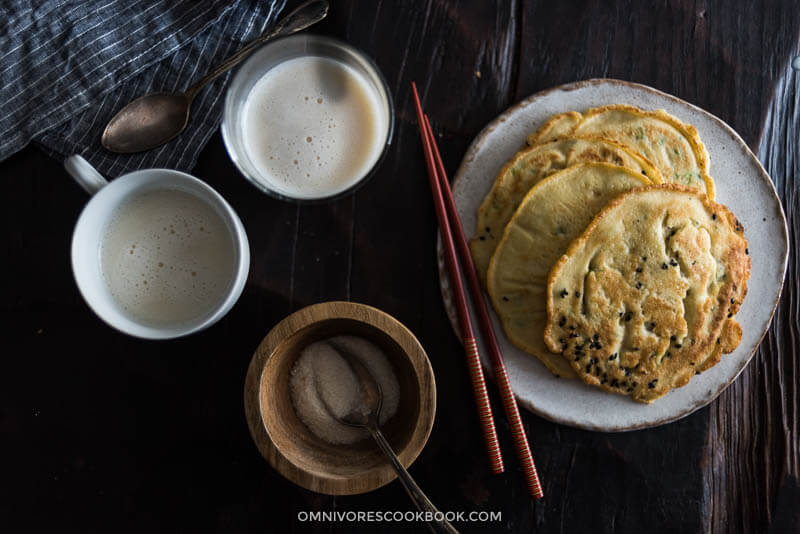
What is your favorite plant based milk? Leave a comment below to share your thoughts!
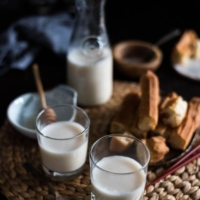
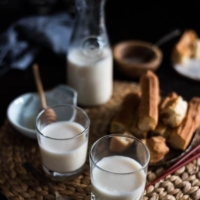
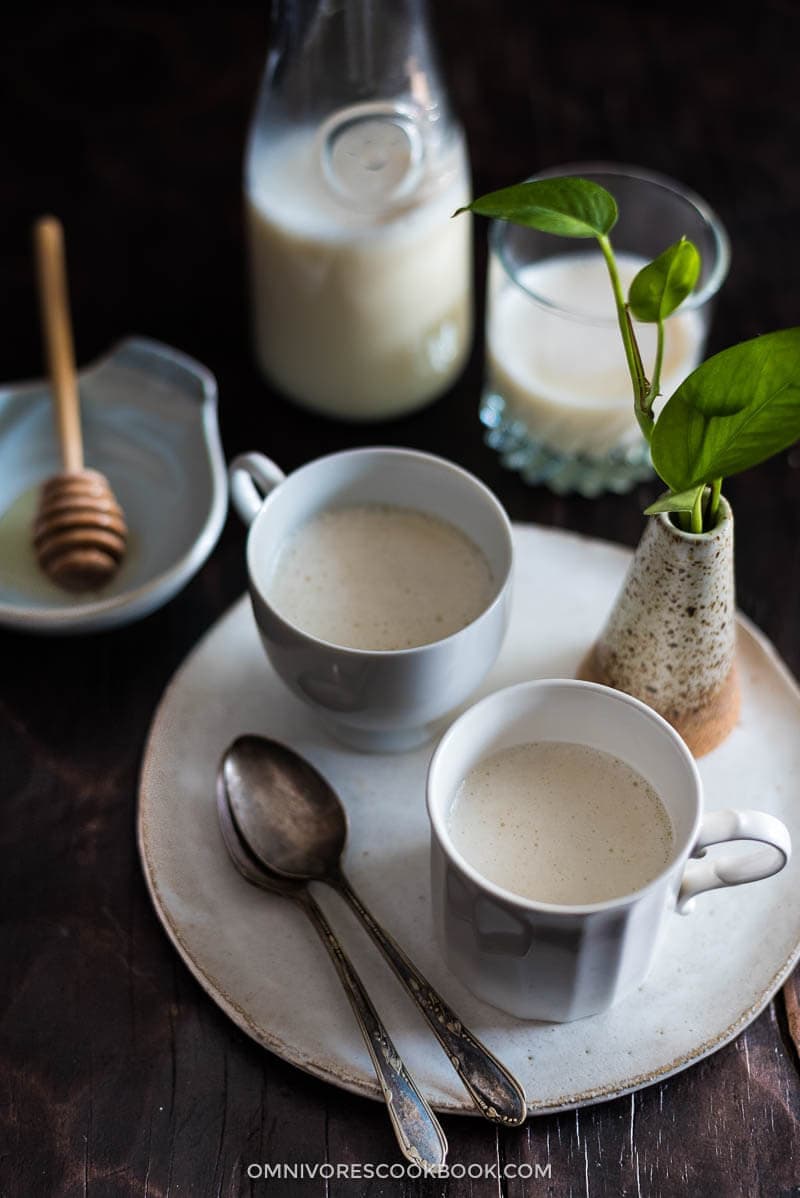
Homemade Soy Milk (with Soy Milk Maker, 豆浆)
Ingredients
- 1 and 1/2 cups (120 grams / 4.2 ounces) dried soy beans (by using the cup comes with the machine)
- 7 cups filtered water
- Agave syrup or maple syrup (Optional)
Instructions
- Use the soy bean cup that comes with the machine to measure 1 and 1/2 cup dried soy beans. Add into a bowl. Rinse with tap water for 1 to 2 times to remove dust on the surface and drain. Add water to cover the beans at least 1-inch deep.
- (Cook with soaked beans) Soak the beans overnight or for at least 6 hours.
- (Cook with dry beans) Skip the soaking process above and start making the soy milk immediately after rinsing. (*Footnote 1)
- Drain the soaked soy beans and add to the soy milk maker. Add filtered water until it reaches the 1700ml mark.
- Place the lid of the soy maker on and adjust so it’s firmly attached. When you plug in the cord, you should hear a beep and the soy maker shows “Keep Warm” on the lid. This means you’ve set up the machine properly. Choose “soaked beans” and you will hear two beeps. This means the machine has started. Soon after you start the machine, you will hear a loud noise for a few seconds, which means the machine has started to grind the beans while heating up.
- Now your job is done and you can relax. A big jar of freshly made soy milk will be ready in 30 minutes. During that time, you will hear the machine mixing from time to time; the noise is about same level as your blender.
- Once the soy milk is done, the machine will beep for 1 minute and automatically switch to “keep warm” for an hour. Please note, you should not leave the hot soy milk in the machine for more than 4 hours.
- Place the fine mesh over the jar that comes with the machine (*Footnote 2). Pour the soy milk into the jar to remove the soy pulp. You can use a small spoon to stir and press the soy pulp, so it speeds up the process and lets the milk drain thoroughly.
- Now the soy milk is ready to drink. You can enjoy it hot or cold. My favorite sweetener is agave nectar or maple syrup. If you feel the bean flavor is too strong, adding one to two drops of vanilla extract will even it out a bit.
- To store the milk, let it cool to room temperature, then transfer to airtight jars. Store in the fridge for 3 to 4 days.
Notes
- The soy milk made with dry beans tastes almost as good as with soaked beans. However it generates a very fine bean pulp that is difficult to remove using the fine mesh, so the milk is not as smooth as a result. You can strain the milk first and let sit for a while. The bean pulp will sink to the bottom; then you can pour the milk into glass without pouring the bean pulp.
- The jar is plastic. I always let the the soy milk cool down for a bit before draining. If you do not like pouring hot liquids into a plastic jar, you can use a ceramic bowl instead.
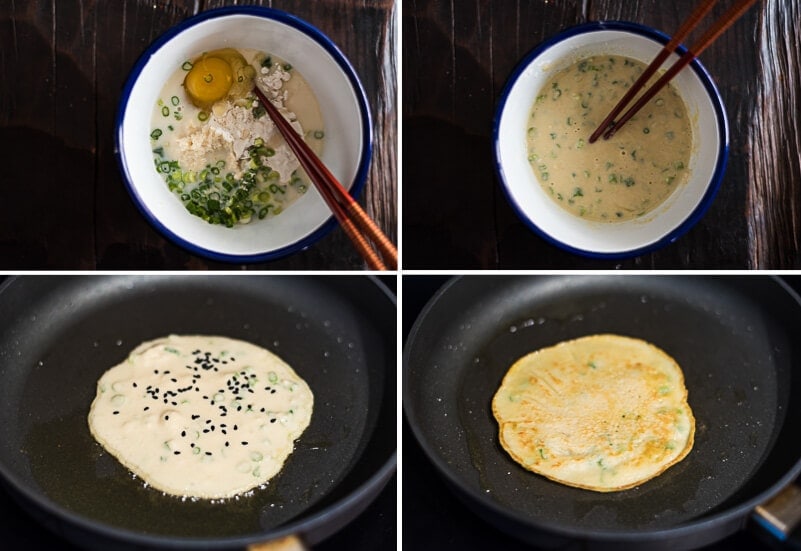
Green Onion Okara Pancakes (Pancakes made with soybean pulps)
Ingredients
- 1/4 cup soy bean pulps (okara)
- 1/2 cup flour
- 1 large egg
- 2 green onions , chopped
- 1/4 teaspoon salt
- 1/8 teaspoons white pepper
- 2 to 3 tablespoons peanut oil (or vegetable oil)
- Black sesame for garnish (Optional)
Instructions
- Whisk everything in a big bowl until it just form a runny smooth paste. Do not mix too fast or over mix, which develops gluten and will yield tough pancakes.
- Heat a nonstick pan with 2 teaspoons oil until hot. Add 1/4 cup pancake mixture and gently shake the pan to form a round pancake. Cook until the bottom set, 30 seconds to 1 minute. You can add a small pinch of black sesame onto the pancake, if using. Flip to cook the other side until the pancake just set, for another 30 seconds. Transfer to a plate and cook the rest pancakes by using the same method.
- Serve hot as breakfast.





I just received my Joyoung soy milk maker. Yes, the instruction manual and recipe book are not very helpful. Thanks so much for the further information. Do you know if the milk maker simmers the soy beans to neutralize the enzymes, or should I add this to the process?
Can you tell me the process for making Congee in the milk maker? What are the measurements ? Which buttons should be selected?
Also, same for oat milk— measurements? Process?
The soy milk maker will simmer the soy beans during the process, so you don’t need to add this step to the process.
I haven’t tried making congee yet because my old soy milk maker doesn’t have the function. Which soy milk maker you’re using?
For oak milk, I didn’t create a recipe because heating up is not needed. You can blend the oats with water and strain them, which takes much less time than running it through the soy milk maker.
Both the soy milk and pancakes are great recipes. No waste! Thanks.